POWERTEC Rip Fence for POWERTEC Wood Band Saw
$30.84
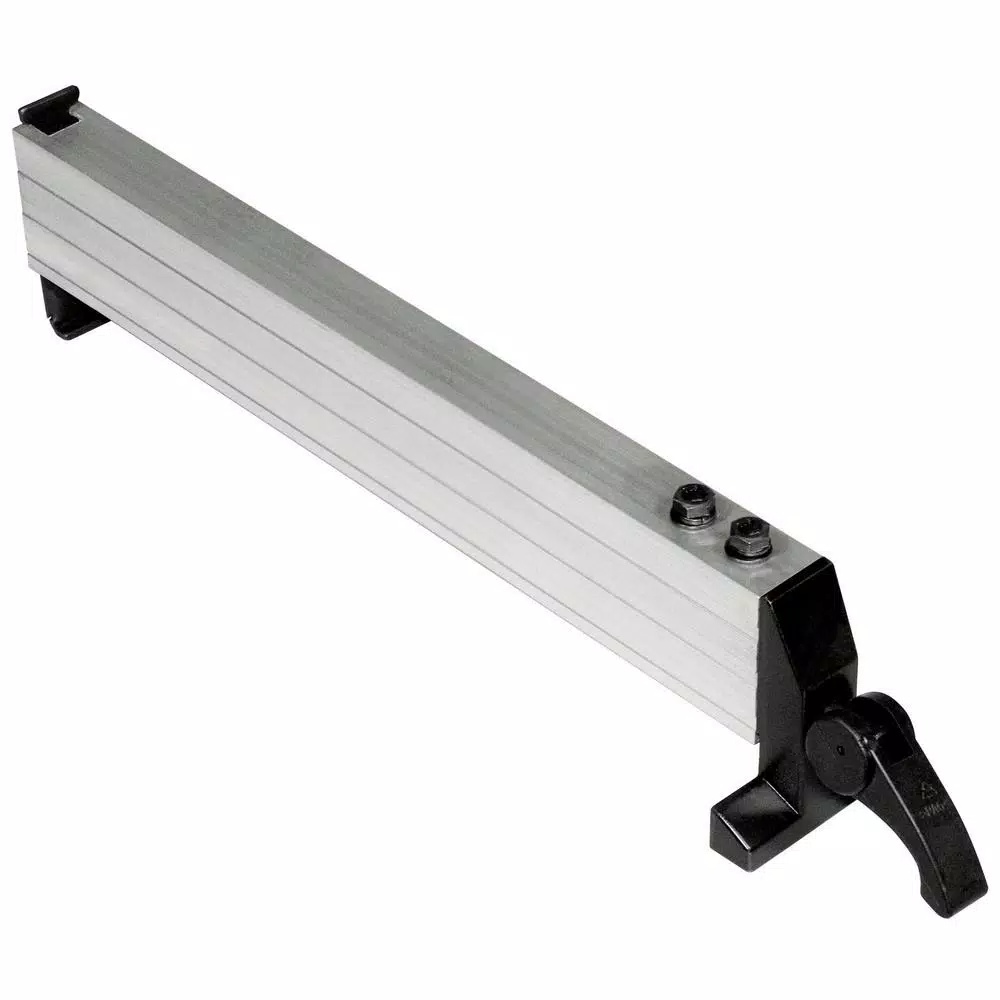
Cut or trim your woods safely and quickly with the selection of this extremely durable POWERTEC Rip Fence for POWERTEC Wood Band Saw.
Only 10 left in stock
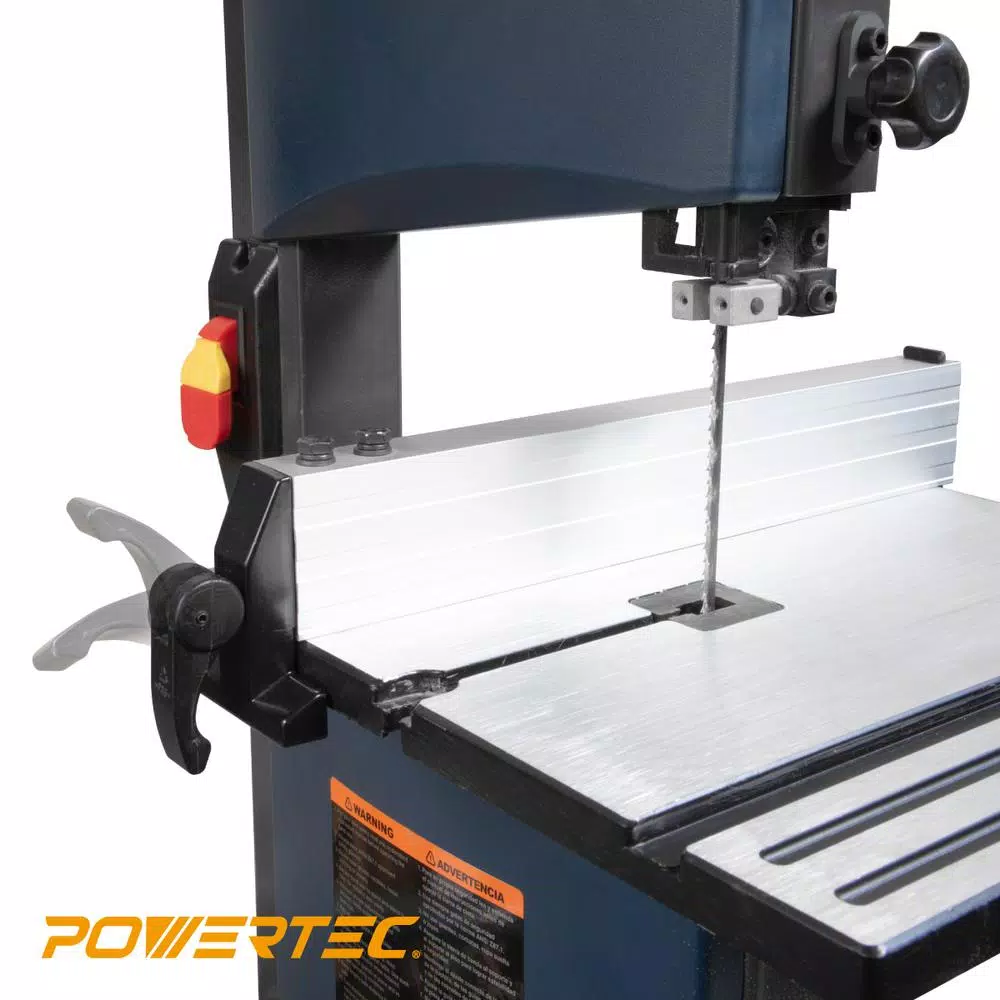
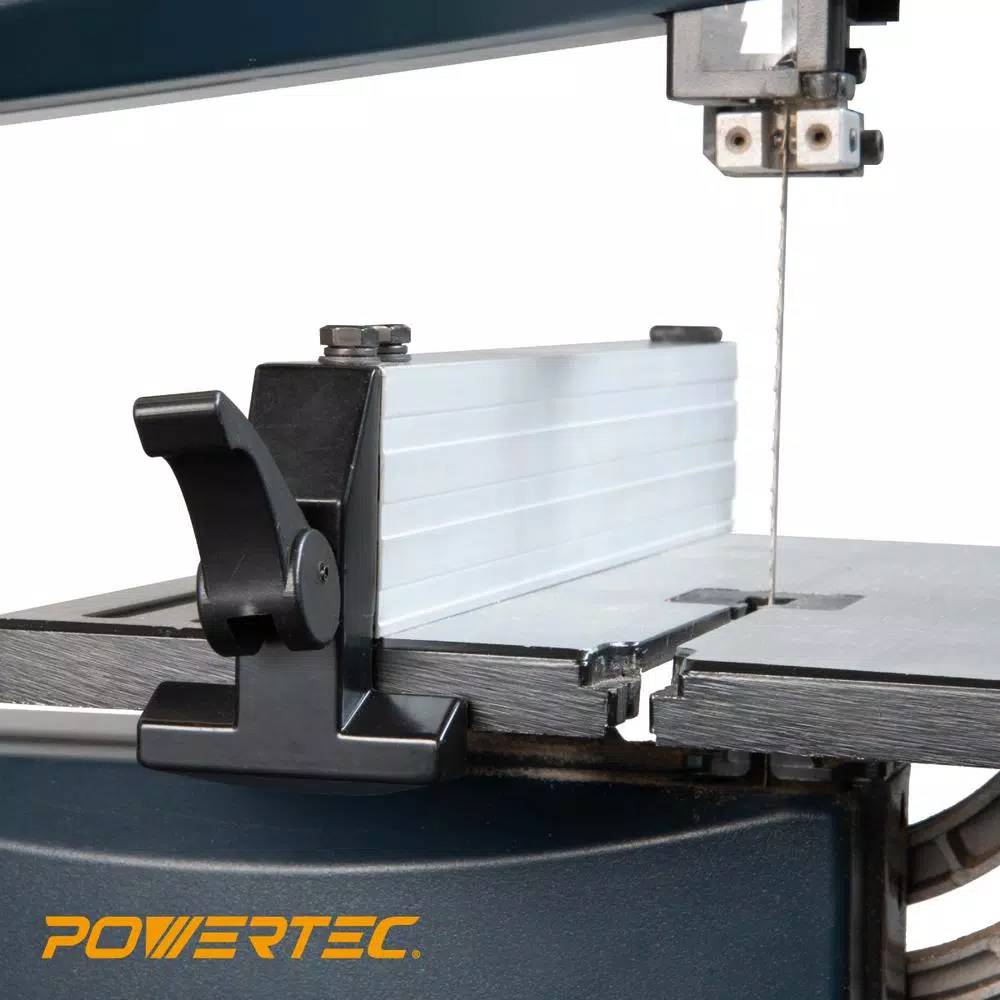
The POWERTEC BS900RF Rip Fence is ideal for use with the POWERTEC B900 Wood Band Saw, and other compatible saw models. This rugged, dependable and ultra-convenient tool ensures that you have exactly the support that you need to achieve perfectly straight parallel cuts every time. Conveniently designed to fit, and firmly clamp, on any 11-3/4 in. band saw table. Its durable, industry-grade aluminum construction means it’s built to get the job done every time. The POWERTEC Rip Fence installs square and solid for the optimum in high-performance sawing and critical worker safety. Handy cam-lever provides both hassle-free adjustment and secure placement lock, providing the utmost in dependability and rigidity. No assembly needed, it’s ready to use right out of the package. Some adjustment may be required. This indispensable accessory is easy to handle and store – weighing in at 13.4 oz. Dependable, rugged, essential. Compatibility: .POWERTEC 9″ band saw BS900 .Ryobi 9″ bandsaw .Fit work table with 300 mm x 300 mm
- Sturdy extruded aluminum construction means it’s solid and durable
- Provides for straight parallel cuts
- By using the handy adjustable cam, the clamp can adjust from 11-1/8 in. up to 11-13/16 in.
- Arrives fully assembled, right out of the package
- Simple, effective cam lever action means device is securely locked in place
- Design to fit, without rails, a table 3/8” thick and 11-3/4” long
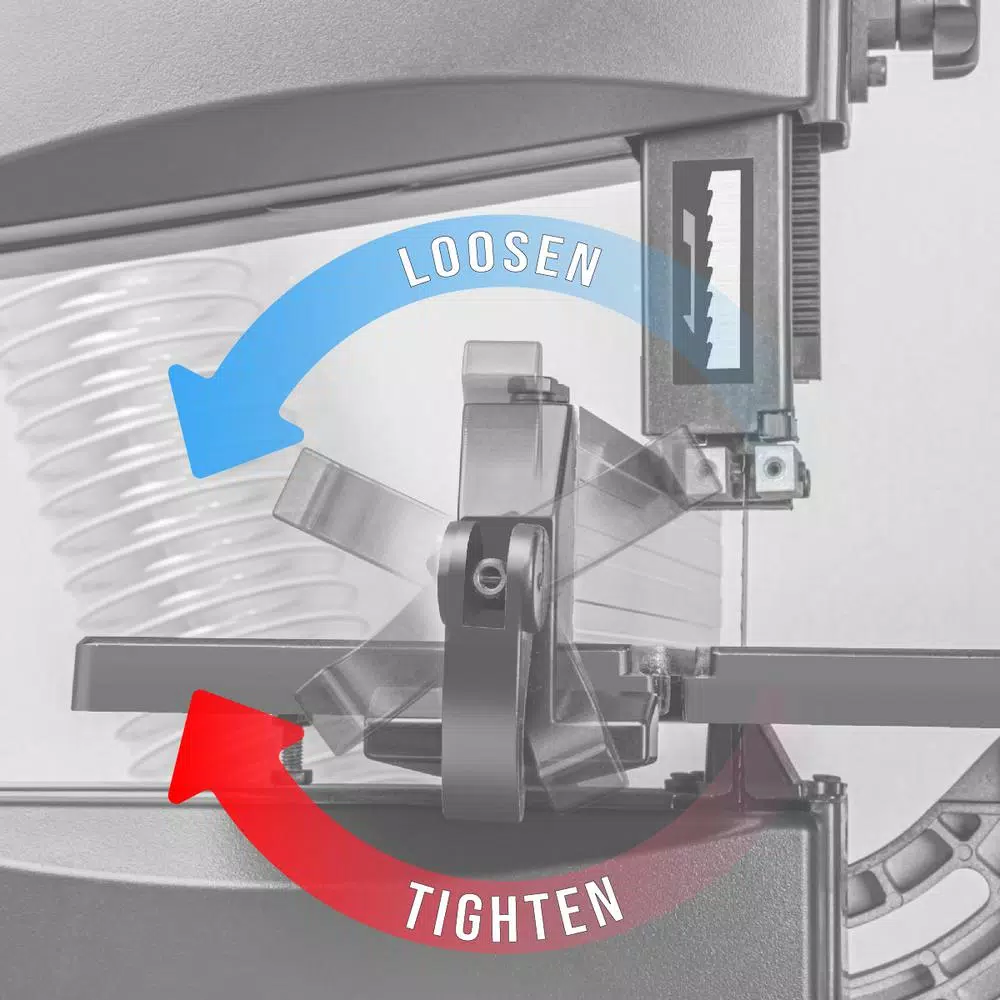
- Setting The Rip Fence: (1) Raise the fence locking lever on the rip fence (2) Place the rip fence on the work table so that fence locking lever is at the front of the work table. (3) Lower the fence locking lever in order to lock the rip fence in position on the work table. (4) If the fence is too loose, turn the locking lever clockwise to tighten. If the fence is too tight, turn the locking lever counterclockwise to loosen. (5) Once proper tension is set, press the head of the fence against the front of the table and lower the locking cam until it locks.
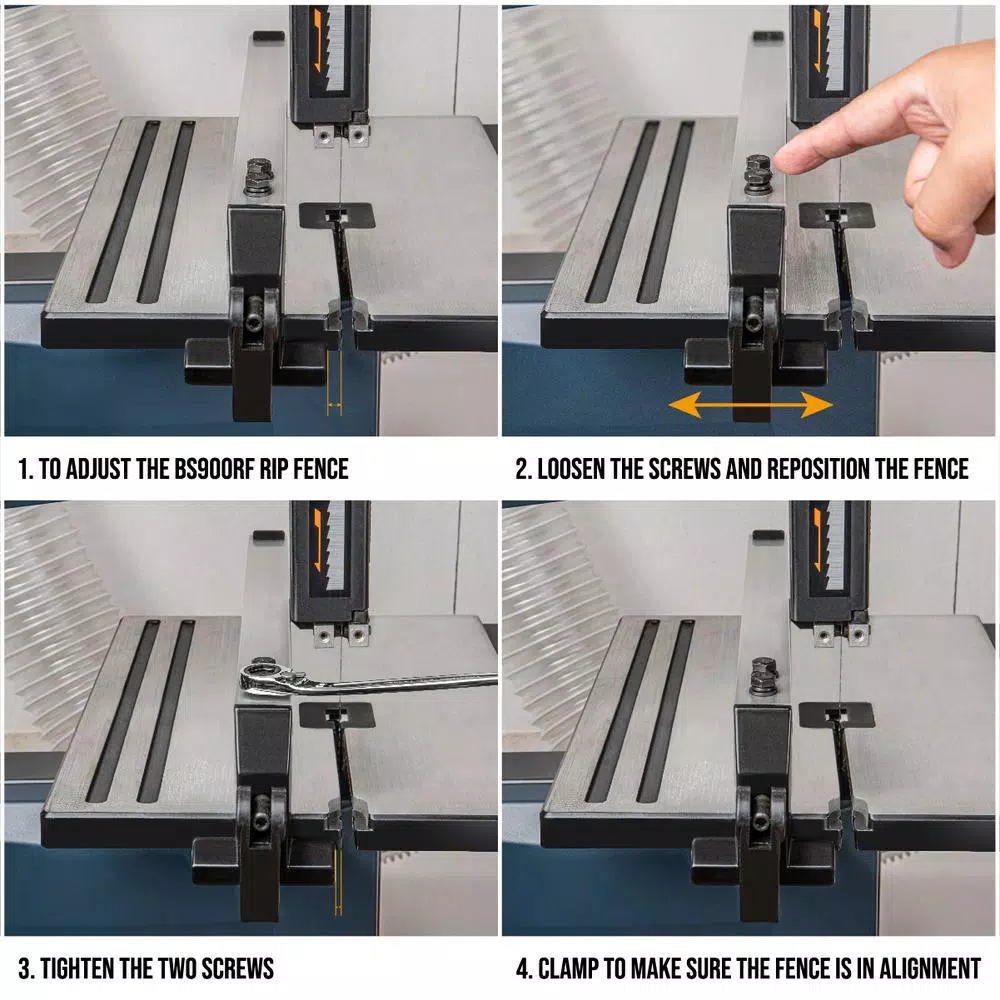
- If the fence is not parallel to the blade or needs to be moved to correct blade drift, it can be adjusted by loosening the two screws on top of the fence. (1) Unclamp the fence and press the head against the table to make sure it is square to the table. (2) Loosen the two screws on top of the fence block and move the fence the required amount. (2) Tighten the two screws and clamp to make sure fence is now in the proper alignment.
WARNING: This product can expose you to chemicals including arsenic, which is known to the State of California to cause cancer. For more information, go to www.P65Warnings.ca.gov
| Weight | 0.65 lbs |
|---|---|
| Dimensions | 14.00 × 3.00 × 5.00 in |
| Color Family | Silver |
| Ideally Used With | Stationary Band Saws |
| Material | Aluminum |
| Model | BS900RF |
| Power Tool Accessory Type | Other Accessory |
| Product Length (in.) | 14 in |
| Tools Product Type | Power Tool |
Only logged in customers who have purchased this product may leave a review.
Related products
Specialty Power Tool Accessories
Model# TWX7SSSpecialty Power Tool Accessories
Model# 13266Specialty Power Tool Accessories
SKILSAW Brush and Cap Assembly for Corded Wormdrive Circular Saws
Model# 95111LSpecialty Power Tool Accessories
Model# 56035-047Specialty Power Tool Accessories
Model# TWX7RTKSpecialty Power Tool Accessories
NOVA Popular Jaw Assortment Bundle (Includes JS25N, JS100N, and JSCOLE)
Model# 6033Specialty Power Tool Accessories
Model# EA0298Specialty Power Tool Accessories
Triton Outfeed Support Accessory for use with Triton Workcenter
Model# TWX7OS


Reviews
There are no reviews yet.